Running a Notebook on a Given Schedule Automatically
Apache Zeppelin provides a cron scheduler for each notebook. You can run a notebook on a given schedule automatically by setting up a cron scheduler on the notebook.
Setting up a cron scheduler on a notebook
Click the clock icon on the tool bar and open a cron scheduler dialog box.
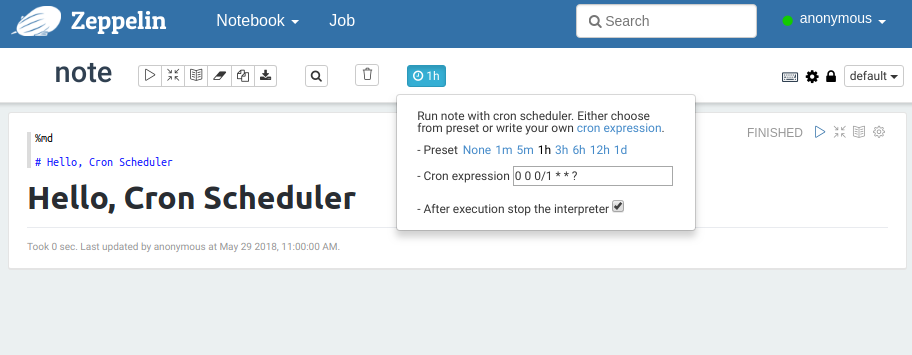
There are the following items which you can input or set:
Preset
You can set a cron schedule easily by clicking each option such as 1m and 5m. The login user is set as a cron executing user automatically. You can also clear the cron schedule settings by clicking None.
Cron expression
You can set the cron schedule by filling in this form. Please see Cron Trigger Tutorial for the available cron syntax.
Cron executing user (It is removed from 0.8 where it enforces the cron execution user to be the note owner for security purpose)
You can set the cron executing user by filling in this form and press the enter key.
After execution stop the interpreter
When this checkbox is set to "on", the interpreters which are binded to the notebook are stopped automatically after the cron execution. This feature is useful if you want to release the interpreter resources after the cron execution.
Note: A cron execution is skipped if one of the paragraphs is in a state of
RUNNINGorPENDINGno matter whether it is executed automatically (i.e. by the cron scheduler) or manually by a user opening this notebook.
Enable cron
Set property zeppelin.notebook.cron.enable to true in $ZEPPELIN_HOME/conf/zeppelin-site.xml to enable Cron feature.
Run cron selectively on folders
In $ZEPPELIN_HOME/conf/zeppelin-site.xml make sure the property zeppelin.notebook.cron.enable is set to true, and then set property zeppelin.notebook.cron.folders to the desired folder as comma-separated values, e.g. /cron,/test/cron.